Connecting a device to Pybytes by flashing Pybytes library manually
In this section, we will explain to you how to connect your device to Pybytes by flashing Pybytes library manually.
From firmware 1.16.x onwards all Pycom devices come with Pybytes library build-in /frozen folder.
That means that you can add your device quickly without the need of flashing Pybytes library manually. Click here for more information.
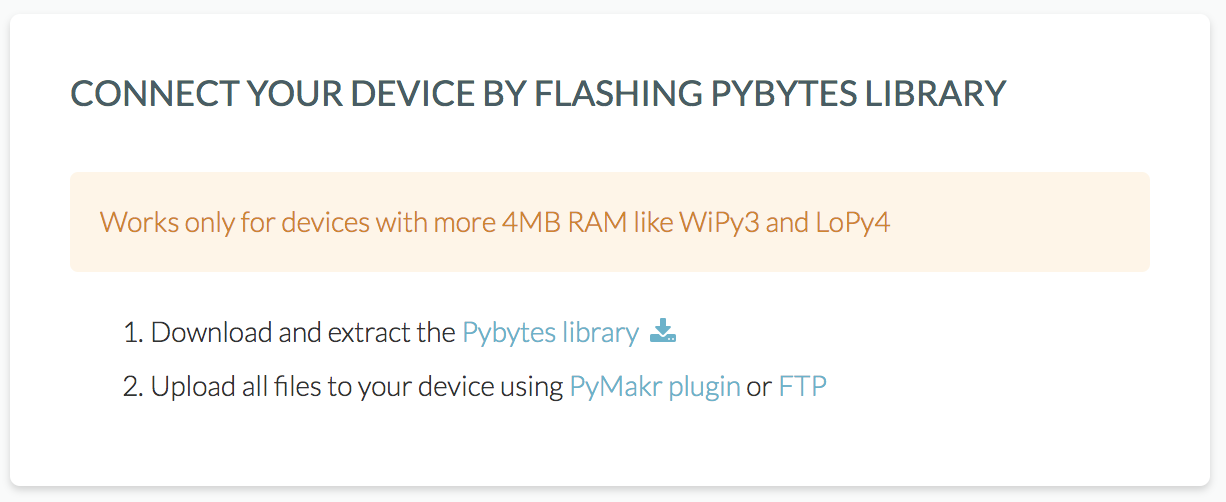
Step 1: Download your Pybytes Library
At the last step of the "Add Device" process:
You can also download Pybytes library at the device's settings page:
- Navigate to your device in Pybytes;
- On your device's page click on settings tab;
- Click on the button Download at Pybytes library;
Step 2. Flash your device with Pymakr
In case you haven't installed Pymakr plugin, follow these instructions.
- Connect your device to your computer with USB cable.
- Extract download Pybytes library and open extracted folder with Atom.
- Get your device serial port: in Pymakr plugin click on More > get serial ports
- Paste your device's serial port to
pymakr.conffile:{ "address": "PASTE_YOUR_SERIAL_PORT_HERE", "username": "micro", "password": "python", "sync_folder": "flash" } - Checkout your
flash/pybytes_config.jsonfile. It will be pre-filled with your information from Pybytes Like deviceToken or WiFi credentials. You can change e.g. your WiFy password here. - Put your device in safe boot mode.
- Upload code to your device by clicking on Upload button in Pymakr. After all Pybytes library files are uploaded to device, device will restart and will connect to Pybytes.
Pybytes library is written to /flash folder and will take precedence over build in firmware libraries in /frozen folder.
Next step: Set up your device's dashboard!
Now it's time to display data from your device into Pybytes dashboard. You can check more about it here!