Getting Started
So, you've decided to order a Pycom development module. Firstly we would like to congratulate you in making an excellent decision. If you haven't yet placed your order we highly recommend you check out the products page before you place your order to ensure you know which accessories you might require.
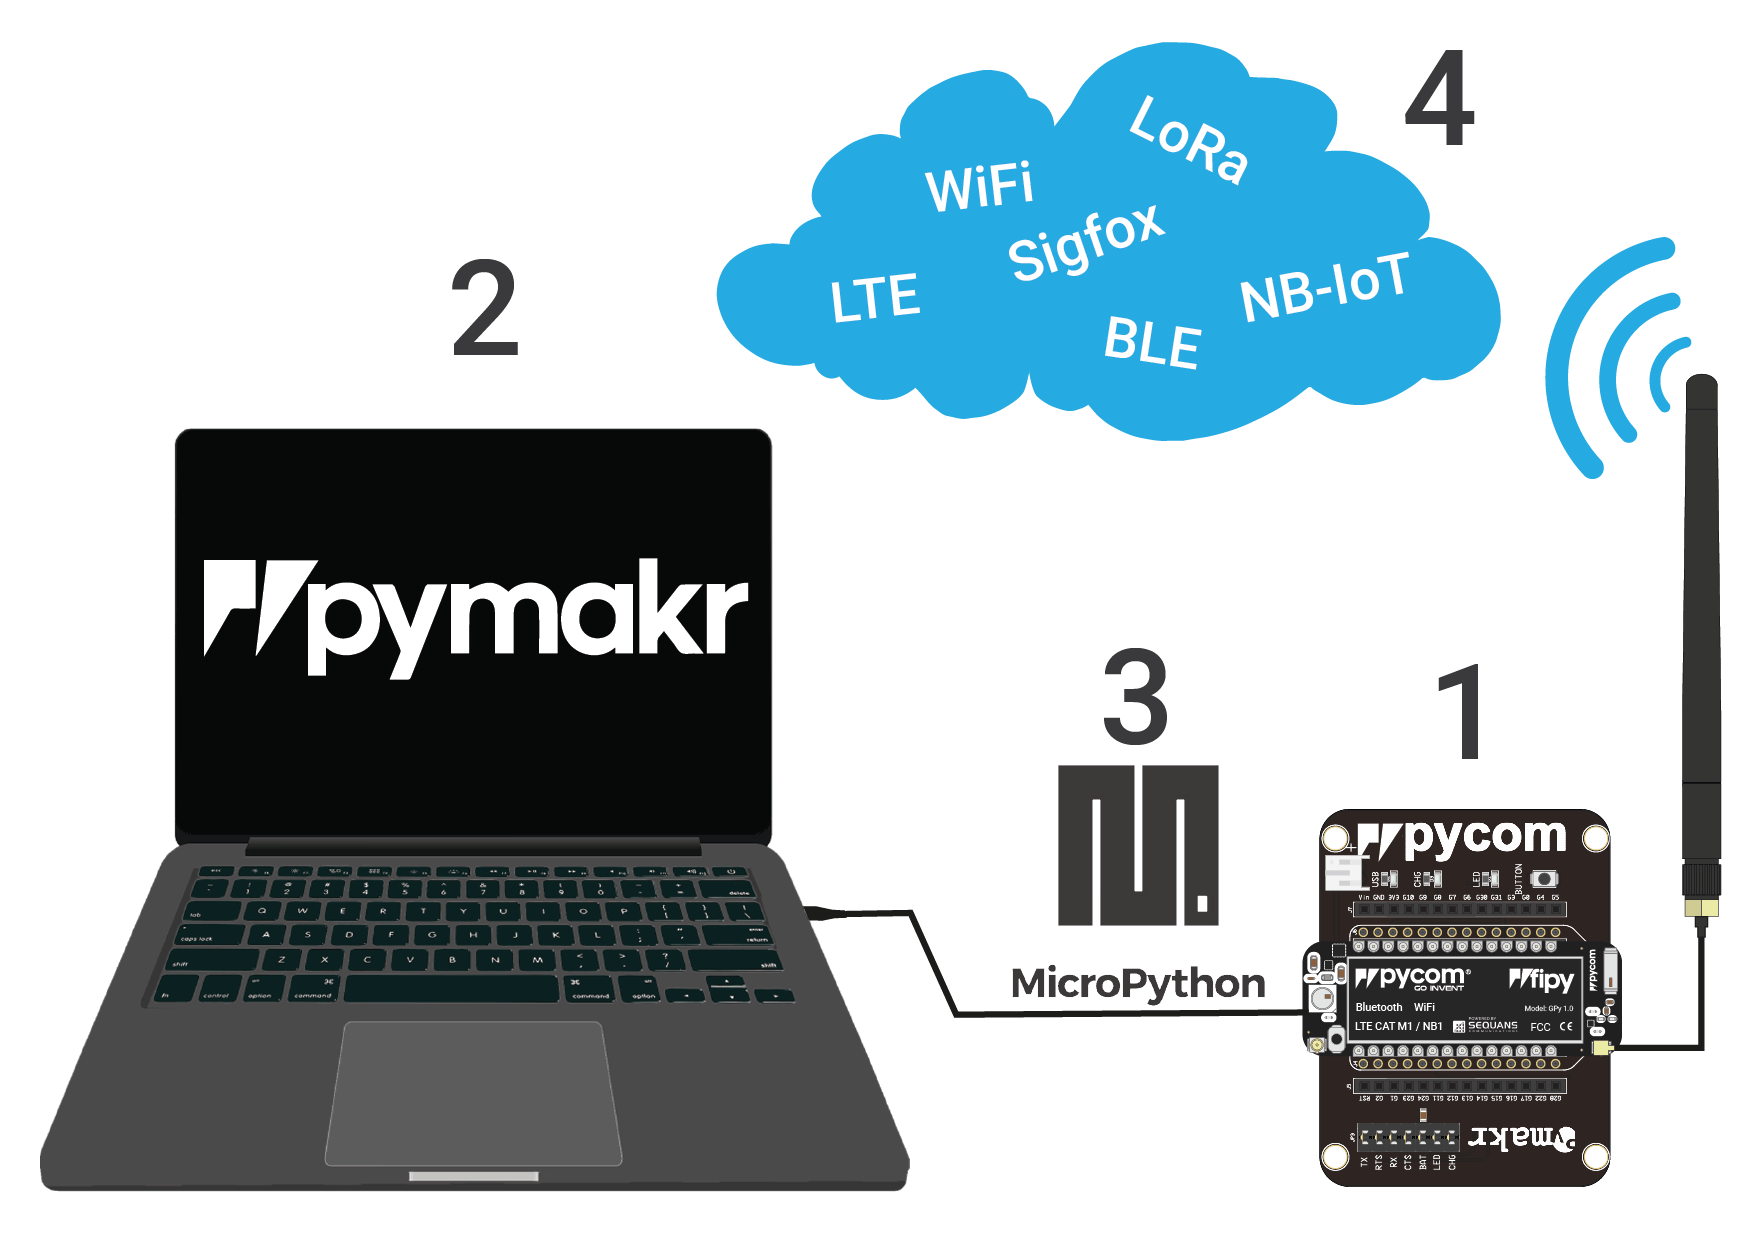
Step 1: Setting up the hardware
In the first part of this getting started guide, we will take you through setting up your device. Firstly we will cover how to connect the module to your computer either via USB or WiFi. Secondly we will explain how to connect various accessories such as antennas or SIM cards to your module.
Step 2: Setting up your computer
Now that your module is successfully connected, you will need to install some software on your computer to interface with it. The second part of this guide will guide you through installing drivers; performing firmware updates for your module/accessories to ensure you have the most stable and feature packed version; and how to setup the software use to program the device.
Step 3: Using your module
Now that you have a connected module and all the required software installed it is time to begin programming your device. This part of the guide will get you started with a basic example and point you in the right direction for getting your device connected to your chosen network.
Step 4: Connecting to a network
Now that you familiar with programming your device you will no doubt be keen to get it connected to one of the advertised wireless networks. This usually requires some registration. This step will detail how to get registered and connected to various wireless networks.
You can navigate through this guide using the arrow buttons on the left and right of the screen (or at the bottom if you are using mobile).